i2R A/B How-To Surfacing an MDF Spoilboard

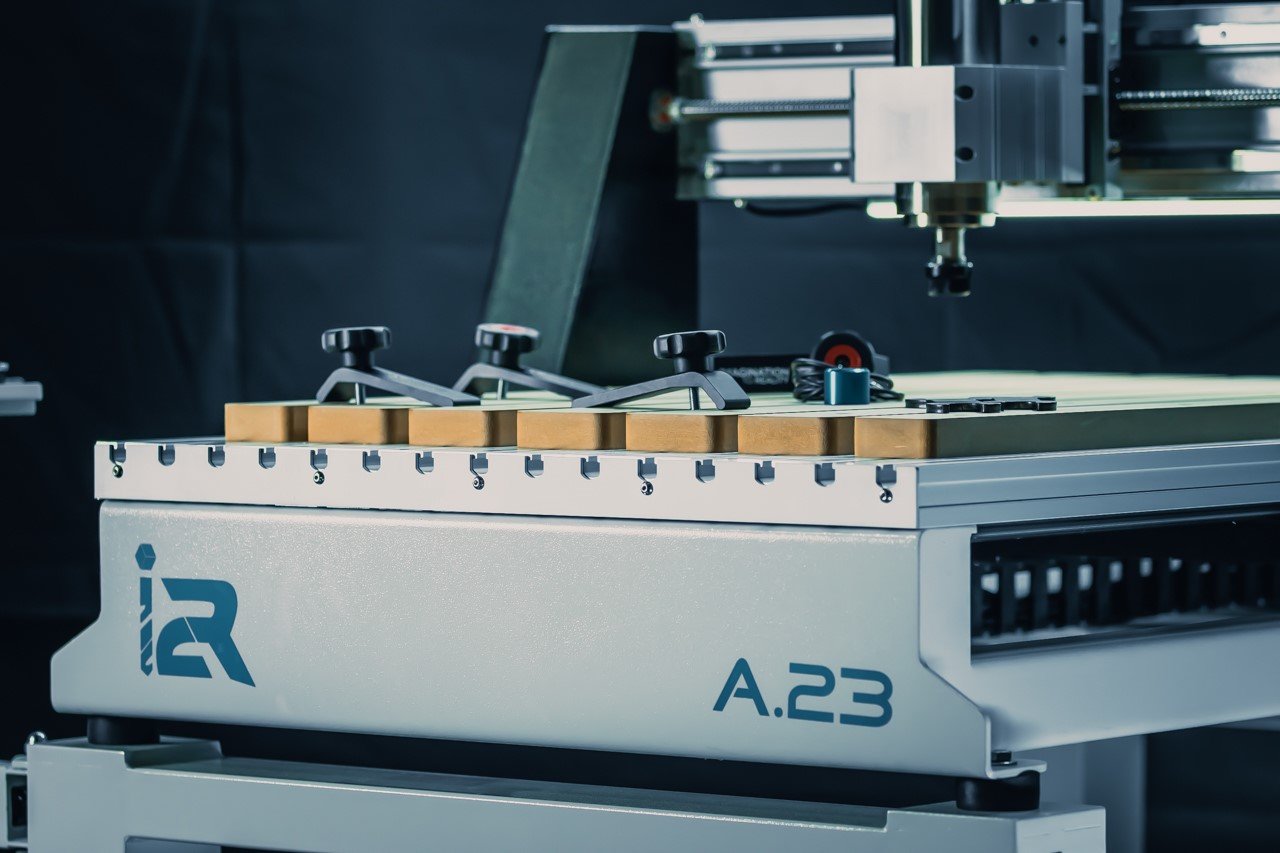
I2rA CNC Router
Surfacing your MDF Spoil Board Layer. Want to learn more about the i2rA - click below
What are MDF fingers?
So what are MDF fingers, or what is an MDF spoil board, also known as a sacrificial layer? A sacrificial layer, or a spoil board, is essentially a layer of material that is bolted to the machine table, which is usually a T-slot table. And the spoil board acts as a surface on which the client or the user of the machine puts the material they want to cut, clamps it, cuts their part out, and there's no concern about machining into the aluminum table. And you can overcut slightly, so you can cut half a mm or a tenth of a mm deeper than your part, so that you're sure your part is machined through and finished, and you haven't damaged your table. You've just put some shallow machine marks into your MDF sacrificial layer. And over time, a sacrificial layer becomes progressively more and more scarred or machined, depending on what you're doing. And it's simply a consumable, replaceable part. So over time, after your table gets to a stage where it needs to be replaced, you simply replace the spoil board, and you start again.
The other advantage of the MDF spoilboard or sacrificial layer is it gives you the opportunity to surface the top plane of that material with the machine itself. So you stick in a large cutter or a surfacing cutter or a fly cutter type cutting tool and you pocket machine the top surface of the sacrificial layer flat with the machine itself. And what this does is it aligns the depth of the Z axis exactly to the surface of the machine table. So once the MDF sacrificial layer has been surfaced then you get a very precise reference for your Z depths. So for maintaining consistent text engraving, for machining depths of cut very precisely, surfacing the spoilboard helps a lot to manage this process. Being able to surface the spoilboard also means you can machine away scarring from previous jobs. So after a number of weeks you can simply surface a few millimeters off the spoilboard and you're left with a perfectly fresh new surface on which to do your next jobs.
Because the MDF spoil board covers almost the total working area of the machine, you need to be careful when surfacing the top surface as you have to ensure that you surface the entire surface which requires you to machine very close to the edge of the machine boundaries. The machine itself has what's called software limits which will be dealt with in another page. And what that means is the setup has to be done carefully such that the machine is pocketing almost its total XY surface capacity so that the entire MDF surface is machined without conflicting with the software limits of the machine. So the machine will not let you machine outside of its defined limits so you have to pay attention to the steps in the tutorial to enable you to machine the full surface successfully as per the video. The core aim of the documentation and the supporting video is to allow you as the user of your I2RA or I2RB machine to successfully and easily machine the entire top surface of your MDF spoil board.